Tamagoyaki with Dashi: Japanese Rolled Omelette Recipe
The Japanese Egg Dish That’s in Every Bento Box
If there’s one dish that defines Japanese home cooking, it might be tamagoyaki — a rolled omelette made by layering thin sheets of seasoned egg in a rectangular pan. You’ll find it in bento lunch boxes, on breakfast tables, and as a side dish at dinner. It’s one of the first things most Japanese people learn to cook.
My version is a dashimaki tamago (だし巻き卵) — tamagoyaki made with dashi broth mixed into the eggs. The dashi makes it juicy, soft, and full of umami. It’s slightly different from the sweeter version you might see at sushi restaurants. Mine has just a touch of sugar and a splash of light soy sauce. Simple, savory, and exactly how I like it.
Ingredients (Serves 2 as a side dish)
- 3 eggs
- 3 tablespoons dashi broth (made from a dashi packet — see below)
- 1 teaspoon sugar
- 1 teaspoon usukuchi shoyu (light soy sauce)
- Neutral oil for cooking (vegetable or canola)
About the Dashi
Use any dashi you have on hand. I make mine from a dashi packet — just simmer one packet in water, let it cool, and measure out 3 tablespoons. You’ll have leftover dashi, which you can use for miso soup or save in the fridge.
If you’re new to dashi packets: How to Use Dashi Packets
About Usukuchi Shoyu (Light Soy Sauce)
I use usukuchi shoyu (薄口醤油) — light-colored soy sauce. It’s lighter in color than regular soy sauce but actually saltier. It’s common in Japanese cooking when you want soy sauce flavor without darkening the dish. If you don’t have it, use regular soy sauce — just use a little less.
Equipment
You’ll need a tamagoyaki pan (卵焼き器) — a small rectangular pan designed specifically for making rolled eggs. This is one of those Japanese kitchen tools that’s surprisingly cheap and makes a big difference.
A regular round frying pan works too, but the shape won’t be as clean. If you’re using a round pan, just fold the egg into a rectangle as best you can.
How to Make It
Step 1: Mix the Egg Mixture
Crack 3 eggs into a bowl. Add the dashi, sugar, and usukuchi shoyu. Mix well with chopsticks — but don’t whisk it into a foam. You want the eggs blended, not frothy. Some people strain the mixture through a sieve for a smoother texture, but I skip that at home.
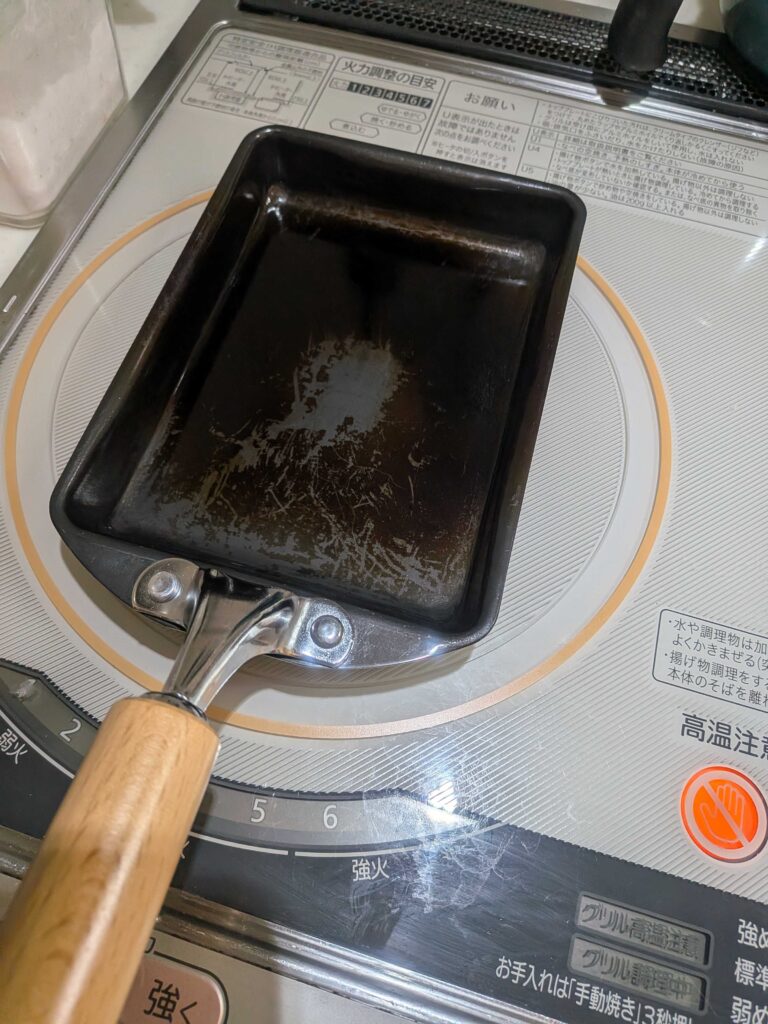
Step 2: Heat the Pan
Heat your tamagoyaki pan over medium-low heat. Add a thin layer of oil and spread it with a paper towel or oil brush. The pan should be hot enough that a tiny drop of egg sizzles gently — not smoking hot.
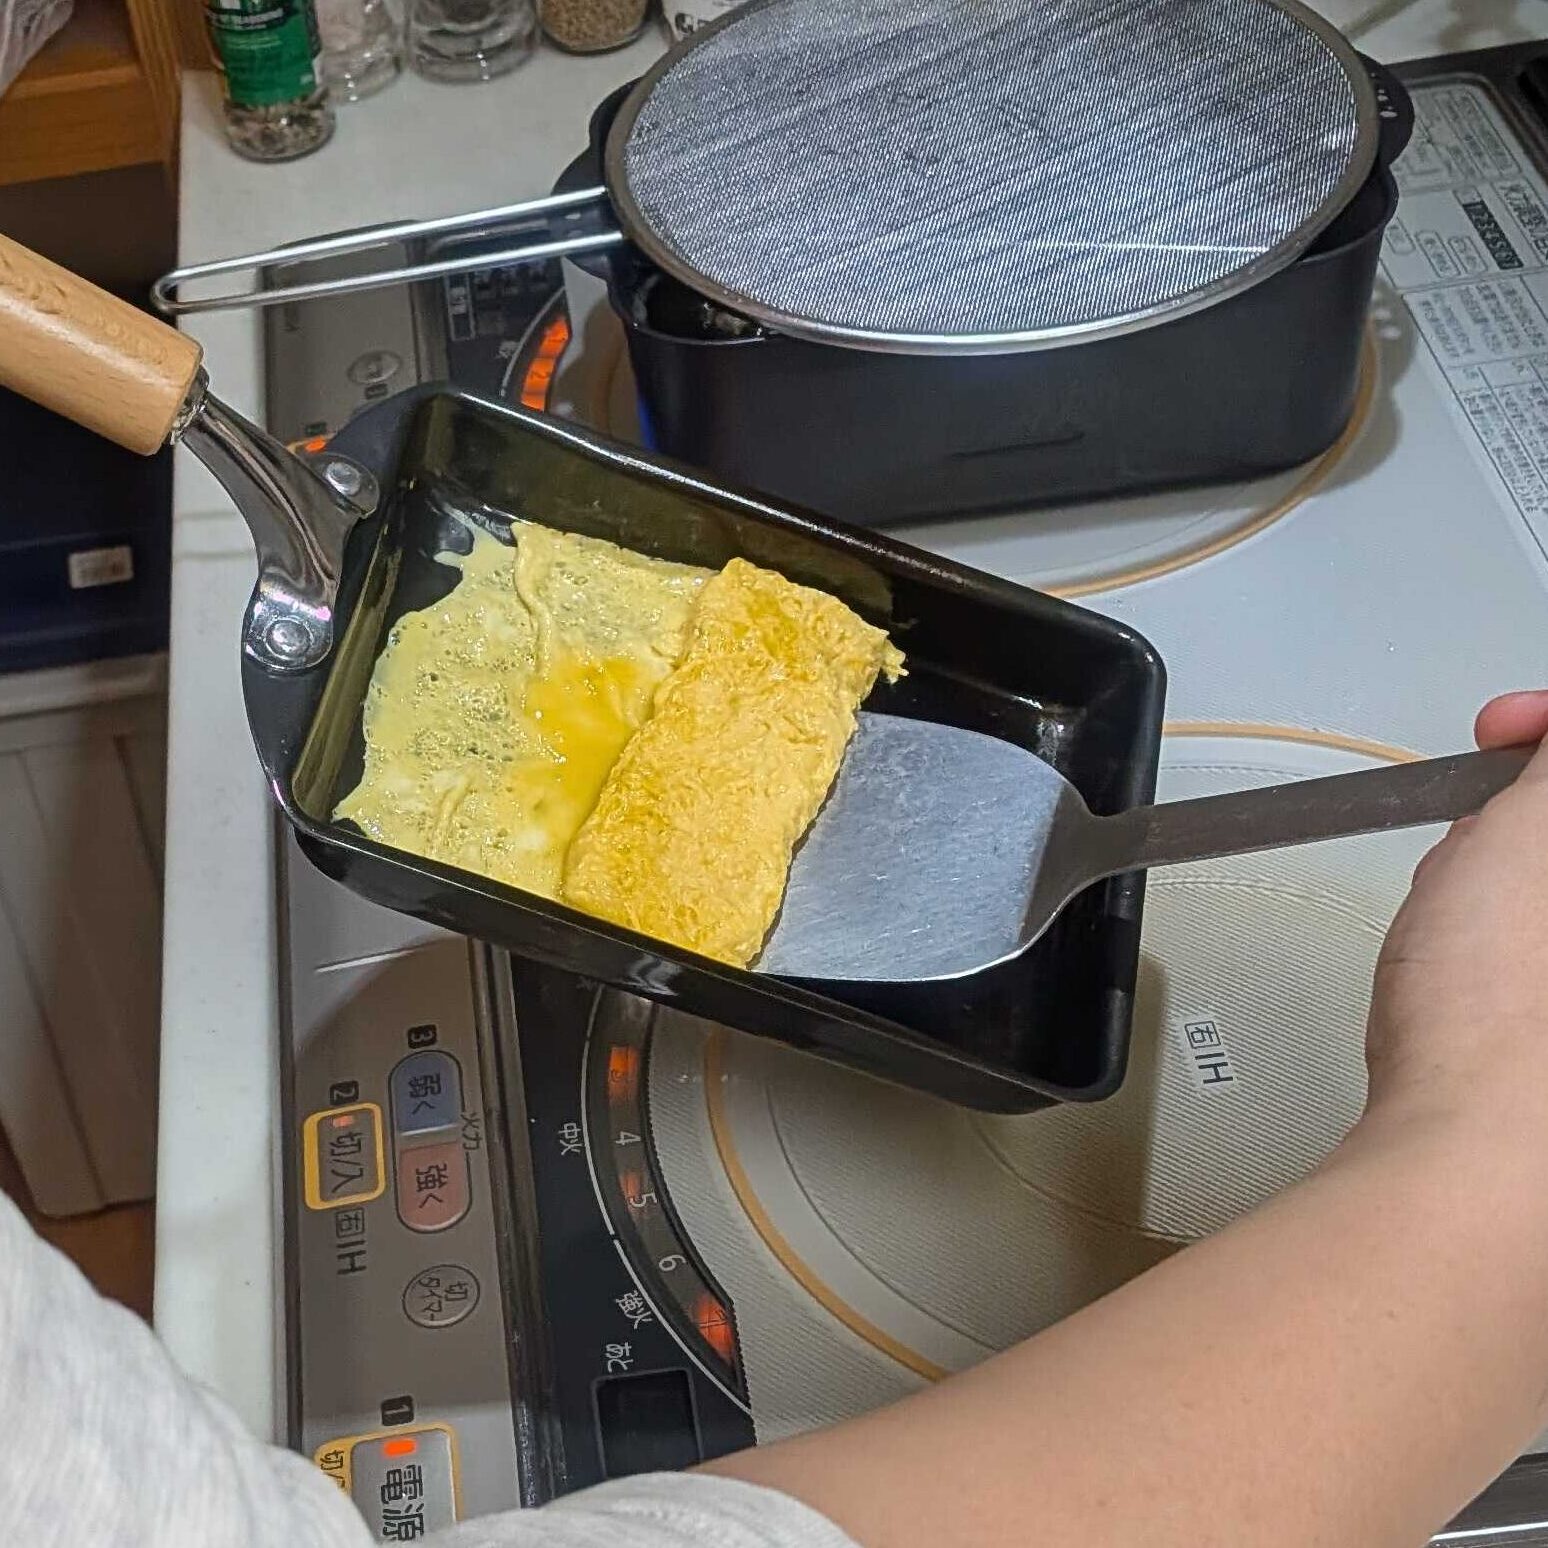
Step 3: Build the Layers
This is the fun part. Pour a thin layer of egg mixture into the pan — about 1/3 of the total. Tilt the pan to spread it evenly.
When the surface is still slightly wet but the bottom is set, start rolling the egg from one end to the other using chopsticks. Don’t worry if it’s messy — you’ll get better with practice, and it all gets rolled together anyway.
Push the rolled egg to one end of the pan. Oil the empty surface again. Pour another 1/3 of the egg mixture, lifting the rolled egg to let the new mixture flow underneath.
When the new layer is set, roll the egg over it again. Repeat one more time with the remaining egg mixture.

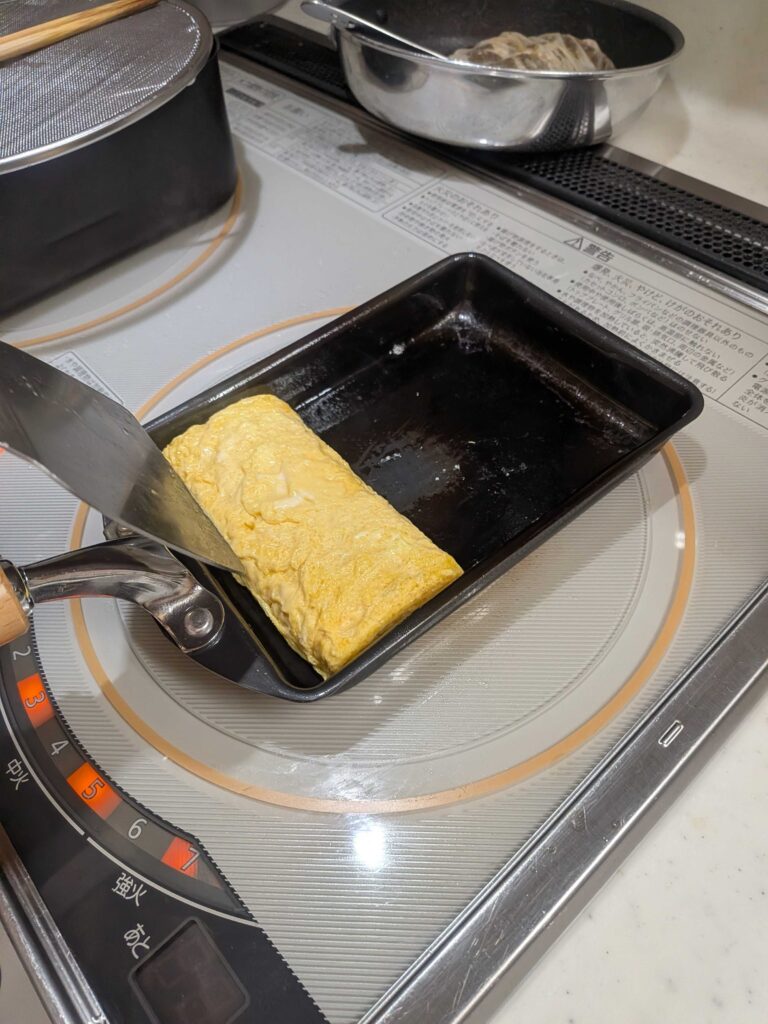
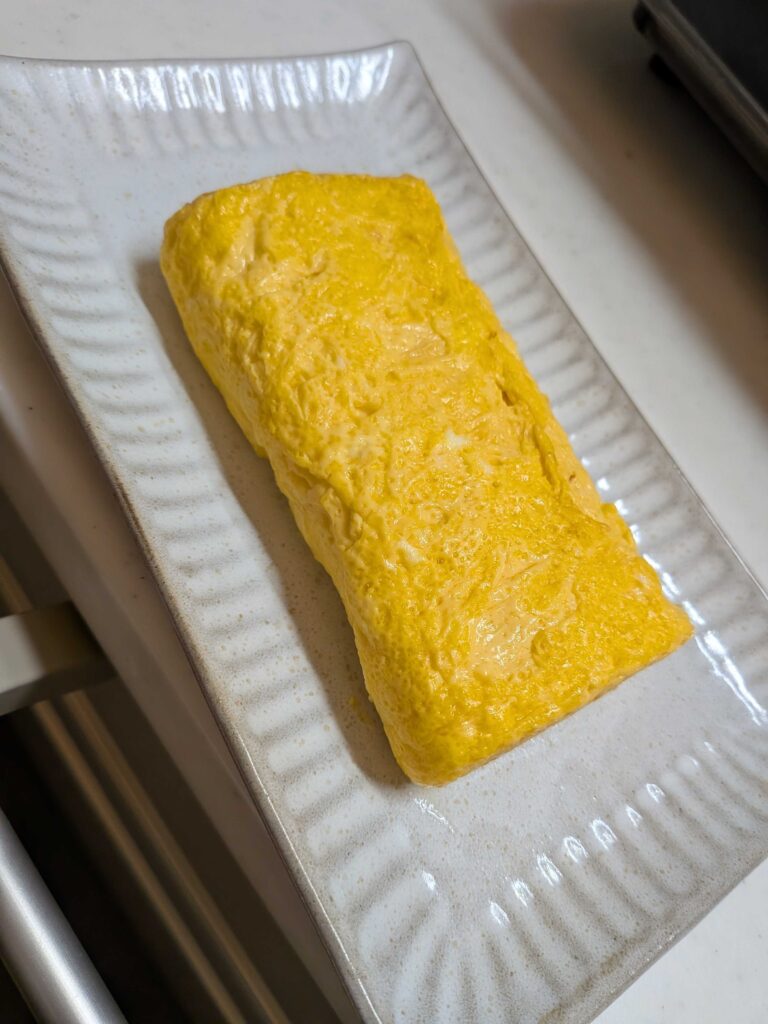
Step 4: Shape and Rest
Once all the egg is rolled, press it gently against the side of the pan to shape it into a neat rectangle. Slide it onto a plate and let it rest for a minute or two. This helps it hold its shape.
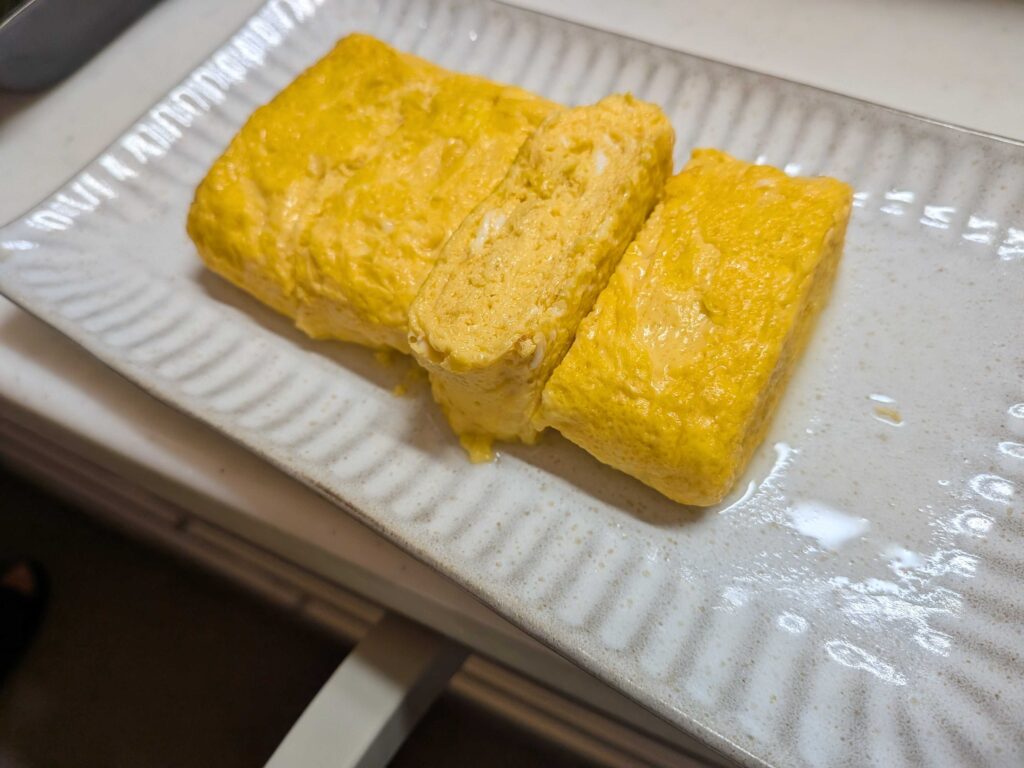
Cut into slices about 2cm thick. Look at that juicy cross-section — you can see the layers and the dashi seeping out. That’s how you know it’s a proper dashimaki tamago.
Tips from My Kitchen
- Medium-low heat is key. Too high and the egg browns before you can roll it. You want a gentle cook with no color.
- Keep the pan oiled. Re-oil before each new layer. A paper towel dipped in oil works great for this.
- Don’t stress about the rolling. My first tamagoyaki looked terrible. Even now, it’s not always perfect — and that’s fine. The taste is the same.
- More dashi = more juicy, but harder to roll. 3 tablespoons is a good balance for beginners. As you get more comfortable, you can increase the dashi for a softer, more custard-like texture.
- Let it cool before cutting. Cutting while hot makes it fall apart. A couple of minutes of rest makes clean slices.
How to Serve Tamagoyaki
Tamagoyaki works as:
- A side dish at dinner — alongside rice and miso soup
- A bento item — it’s one of the most common bento fillings in Japan
- A breakfast egg — my wife sometimes makes it for weekday breakfast
- A snack — honestly, I eat slices straight from the cutting board
You can serve it with a small mound of grated daikon radish on the side, with a few drops of soy sauce on the daikon. That’s the classic way.
The Tamagoyaki Pan: Worth Buying?
If you’re getting into Japanese cooking, a tamagoyaki pan is a small investment that you’ll use constantly. They’re usually around $15–25 on Amazon and last for years.
Look for:
- Rectangular shape (not square — the rectangle is the traditional shape)
- Non-stick coating for easy rolling
- A size around 13cm x 18cm — good for 3-egg tamagoyaki
This is one of the few specialized tools I’d actually recommend buying. It’s not just for tamagoyaki — I also use mine for making small omelettes, heating up leftover rice with egg, and cooking single portions of things.
This post contains affiliate links. When you buy through links on this site, I may earn a small commission at no extra cost to you. I only recommend products I actually use in my own kitchen.

Dashi Tamagoyaki (Japanese Rolled Omelette)
Ingredients
Method
- Crack the eggs into a bowl. Add the dashi, sugar, and usukuchi shoyu. Mix well with chopsticks — but don’t whisk into a foam. You want the eggs blended, not frothy.
- Heat a tamagoyaki pan over medium-low heat. Add a thin layer of oil and spread with a paper towel. The pan is ready when a tiny drop of egg sizzles gently — not smoking hot.
- Pour a thin layer (about 1/3 of the mixture) into the pan. Tilt to spread evenly. When the surface is just barely set, roll the egg from one side to the other. Push the roll back, oil the empty space, and pour another thin layer — lifting the roll so the new egg flows underneath. Repeat with the remaining egg.
- Once all the egg is rolled, press it gently against the side of the pan to shape it into a neat rectangle. Slide onto a plate and let rest for 1–2 minutes. Slice into pieces and serve.