Karei no Nitsuke: Japanese Simmered Flounder Recipe
The Fish Dish That Feels Like Home
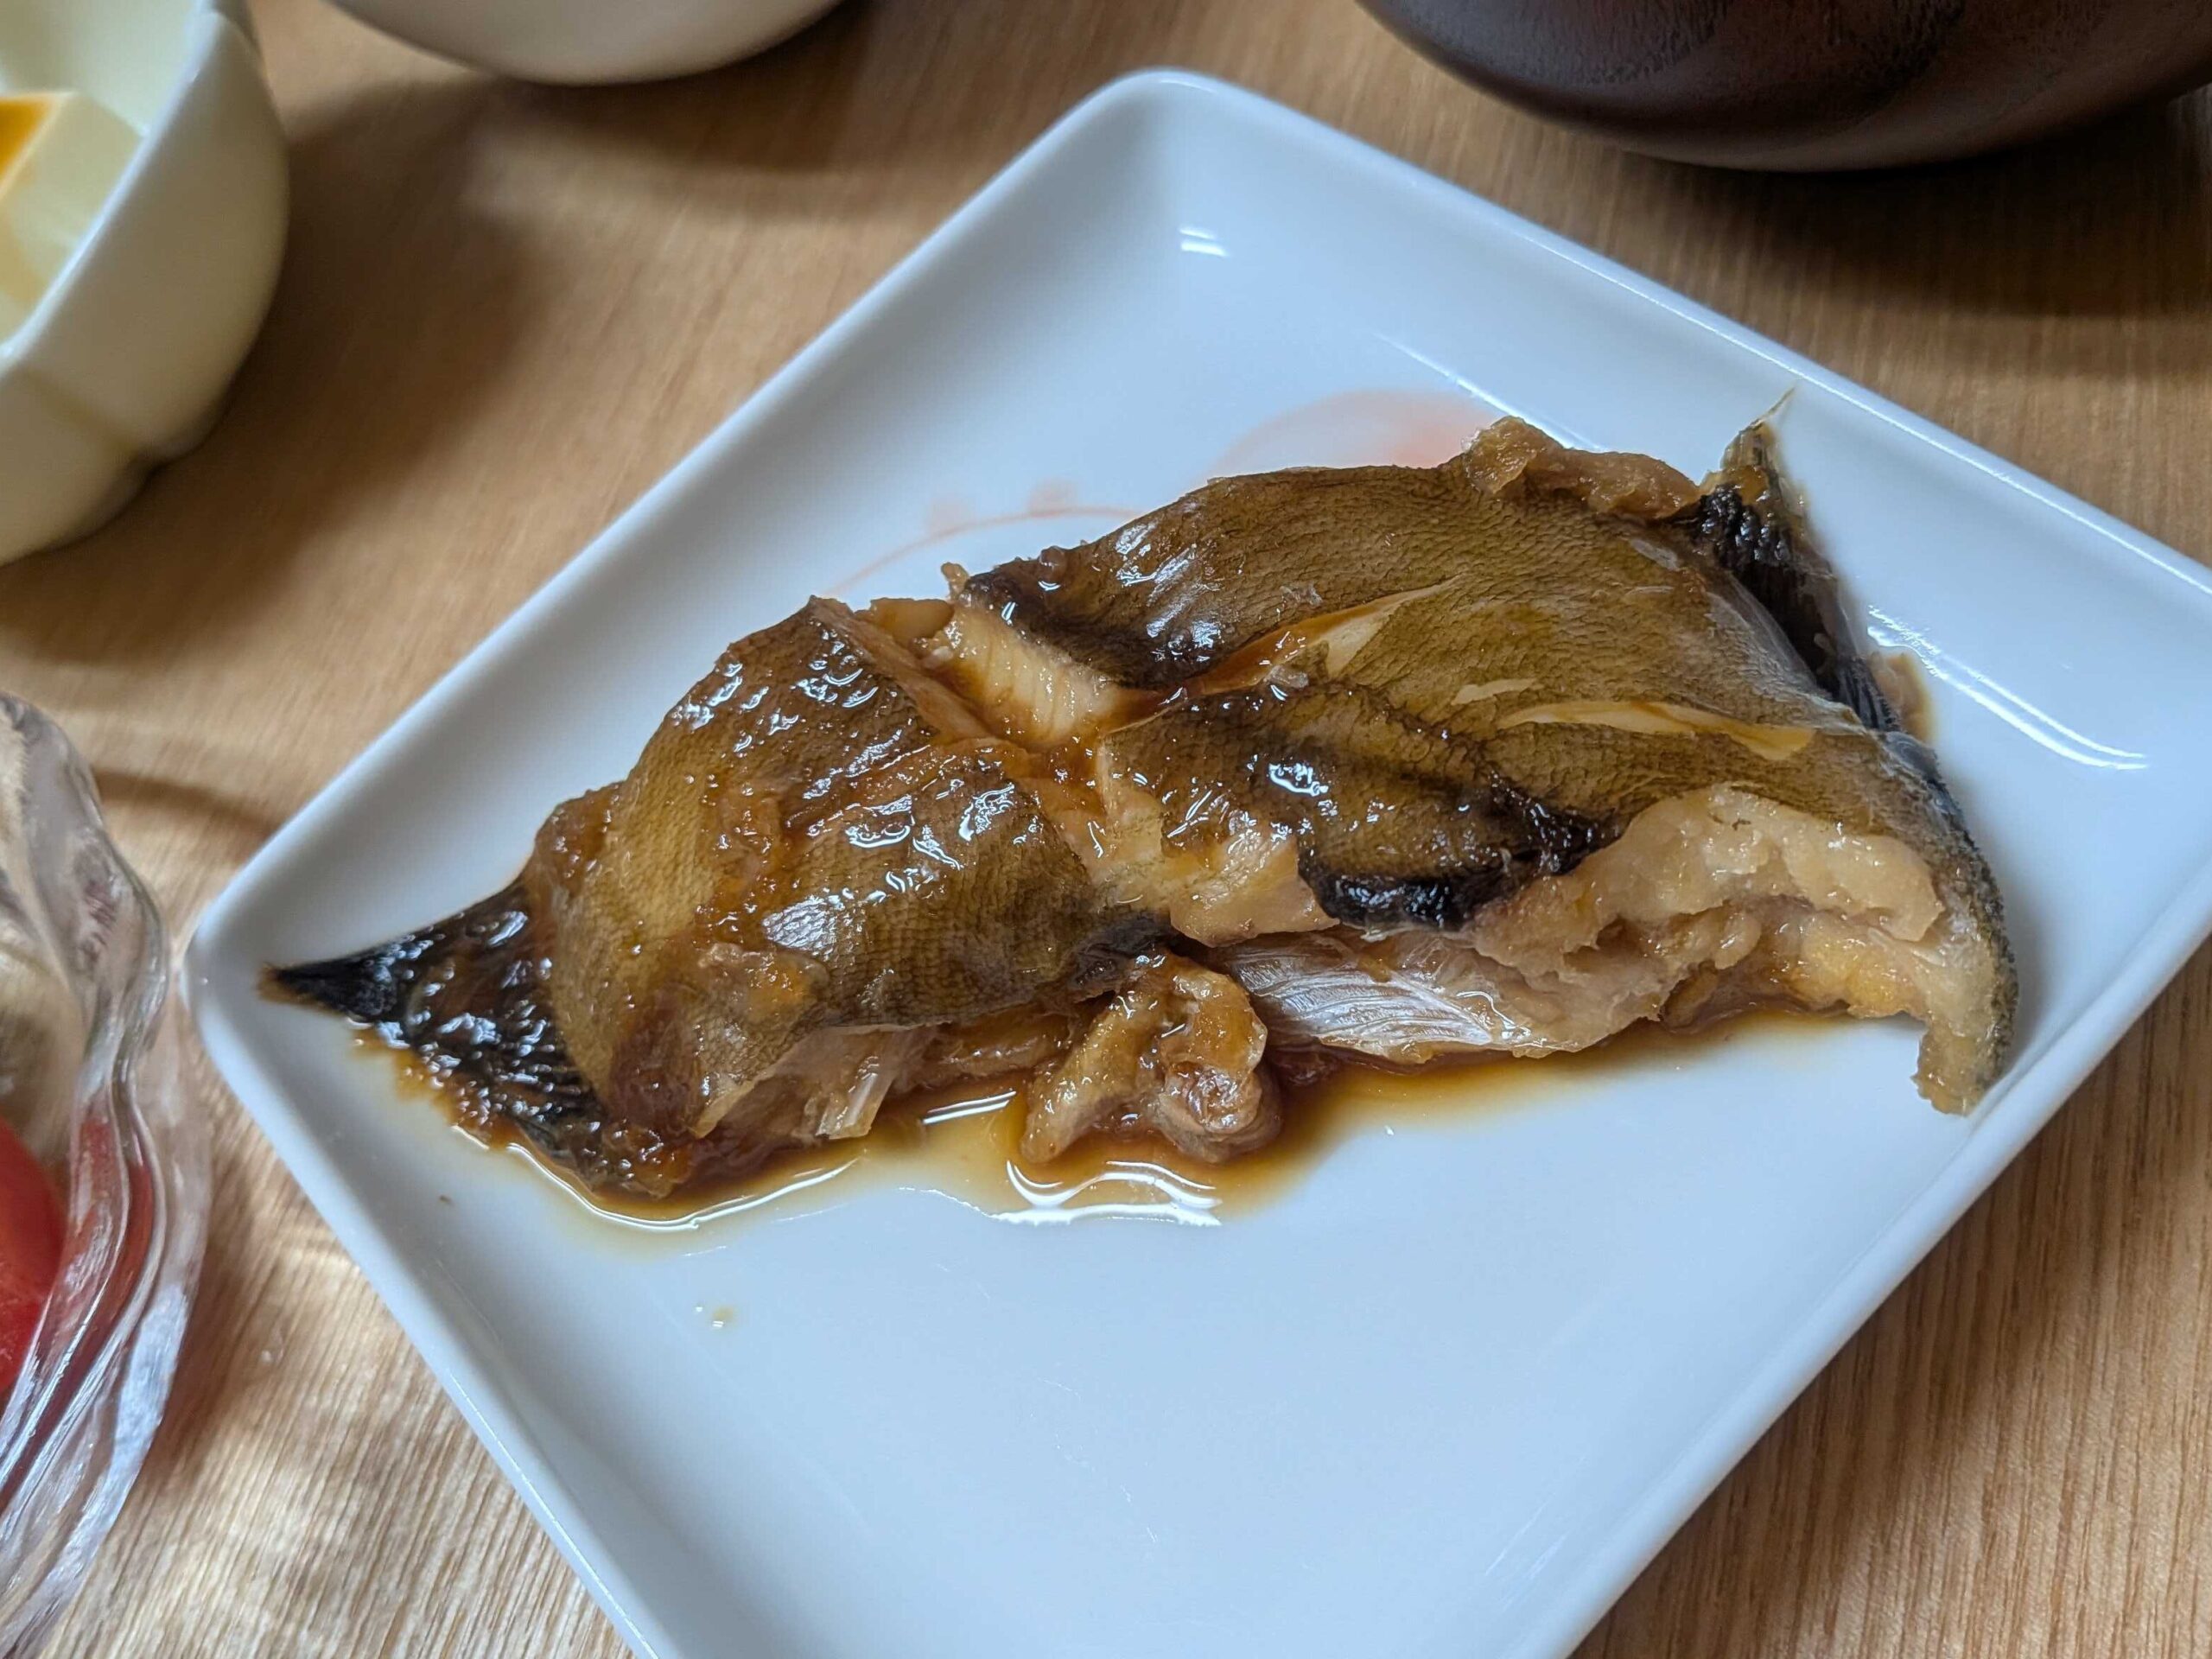
Karei no nitsuke (カレイの煮付け) — simmered flounder in a sweet soy sauce broth — is one of those dishes that appears on Japanese dinner tables without fanfare. No special occasion. No elaborate prep. Just fish, a few pantry staples, and about 20 minutes.
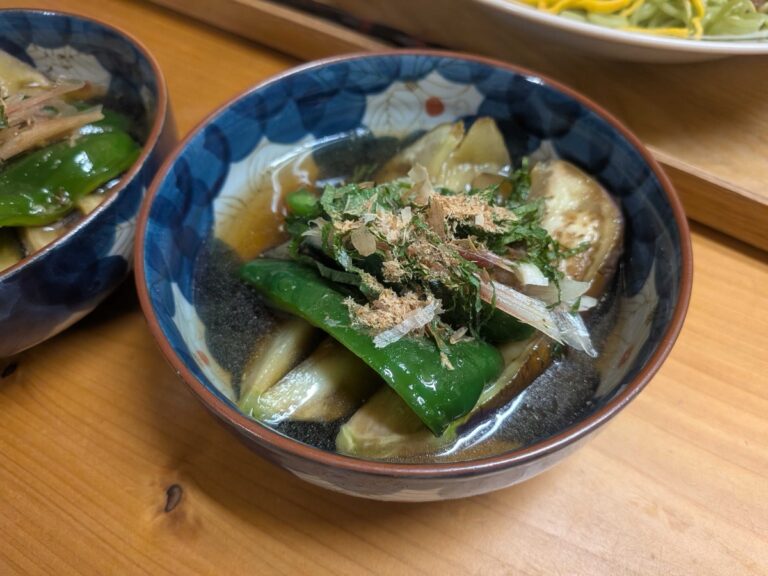
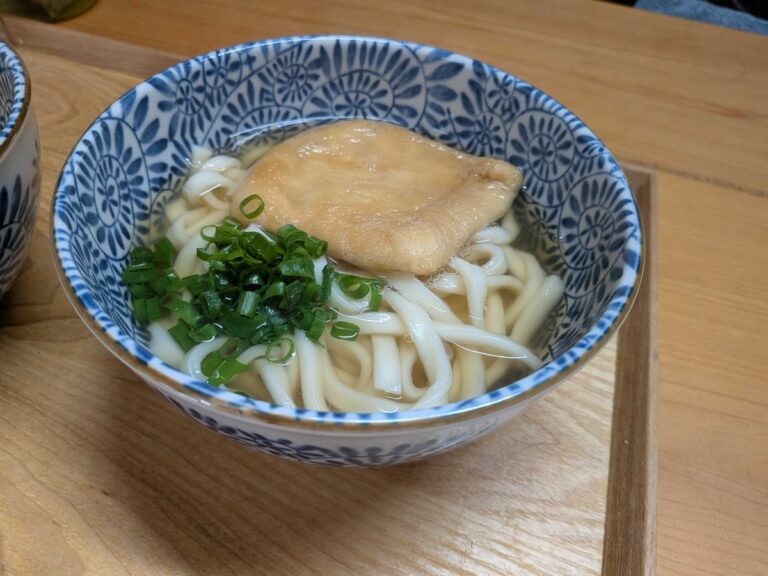
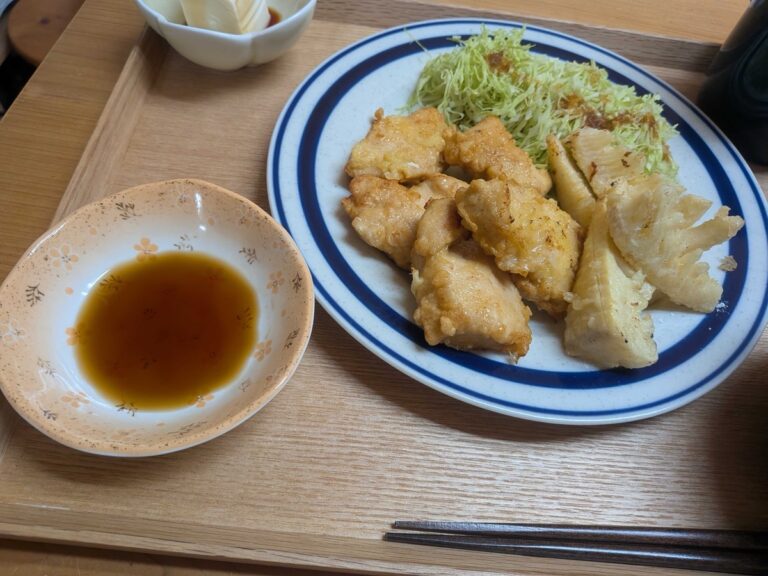
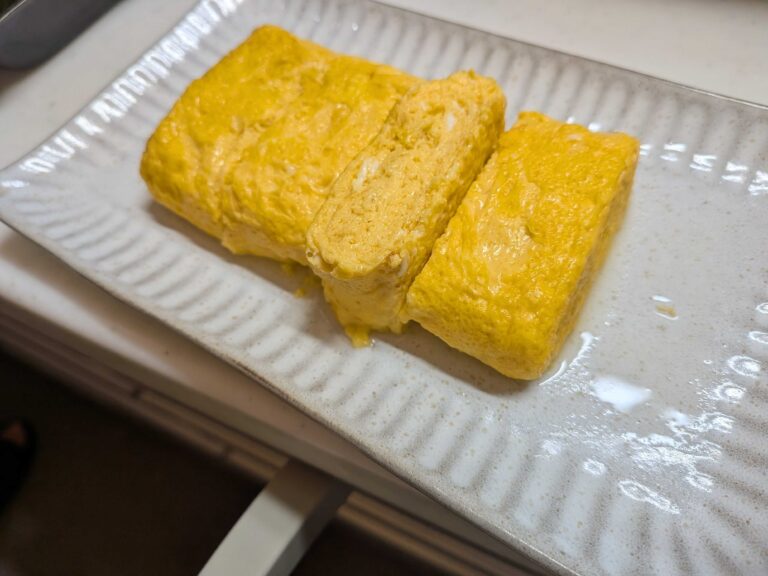
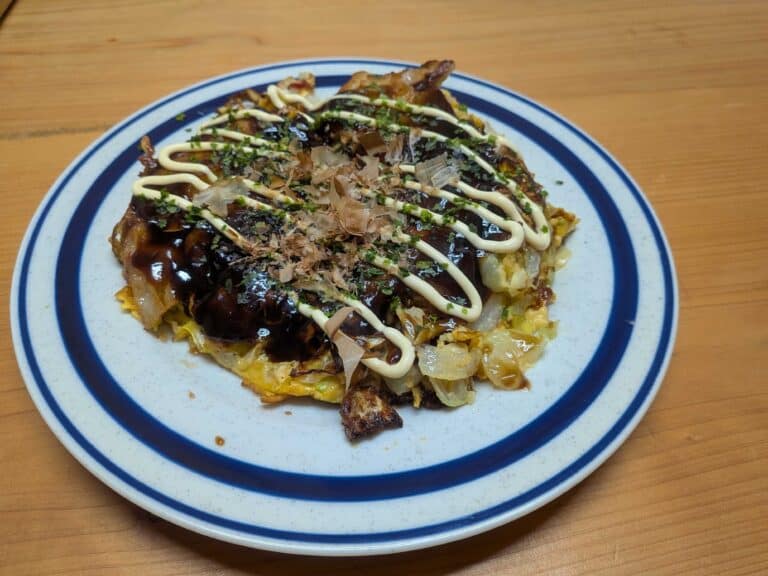
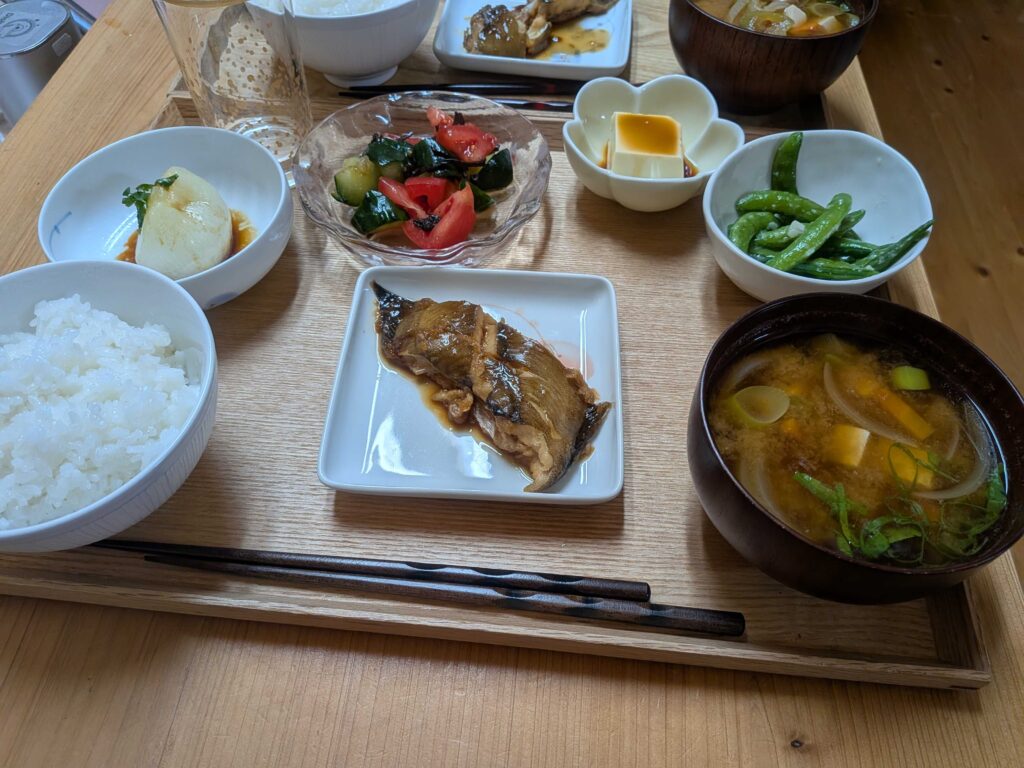
I made this last weekend as part of a full meal: the nitsuke as the main dish, with miso soup, cold tofu, edamame, and tomato salad on the side. That’s the kind of dinner I cook most weeks — simple, balanced, and made from whatever’s at the market.
What is Karei no Nitsuke?
Nitsuke (煮付け) is a Japanese cooking technique where fish or vegetables are simmered in a seasoned broth of soy sauce, mirin, sake, and sugar until the liquid reduces into a glossy, concentrated sauce. The fish absorbs the flavors as it cooks, and the reduced sauce gets spooned over the top when serving.
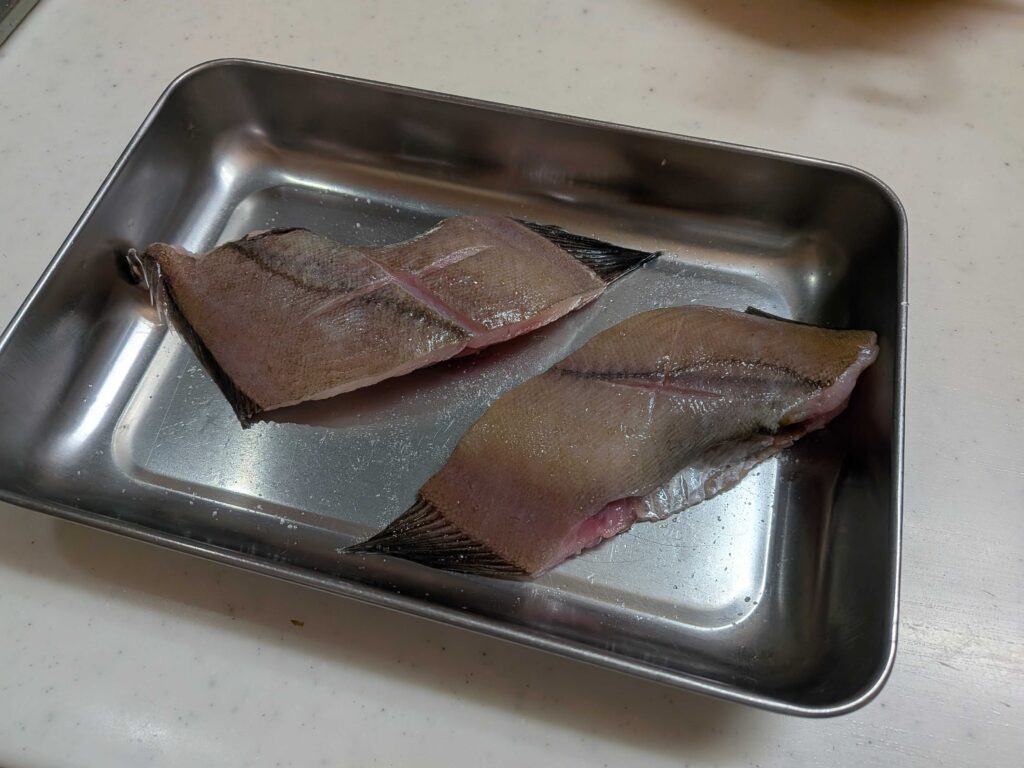
Karei (カレイ) is Japanese flounder or plaice — a flatfish with mild, delicate white flesh. It’s one of the most common fish for nitsuke in Japan. The flesh flakes easily, soaks up the braising liquid beautifully, and the skin turns silky and rich when simmered slowly.
Ingredients (Serves 2)
- 2 pieces karei (flounder), skin on
- 100ml water
- 100ml sake (cooking rice wine)
- 2–3 tablespoons mirin
- 1–2 tablespoons sugar
- Soy sauce — to taste (start with 2 tablespoons, add more as needed)
- A few slices of fresh ginger (optional)
A Note on Measurements
I’ll be honest: I don’t measure precisely when I make nitsuke. The water and sake go in roughly 1:1, enough so the fish is about half submerged. The mirin and sugar are by eye. The soy sauce gets added gradually while tasting.
This is how most Japanese home cooks work. You taste as you go, adjust the balance, and build the flavor you want. I’ll give you a starting point, but trust your palate more than any recipe.
How to Make It
Step 1: Prepare the Simmering Liquid
Add the water and sake to a wide frying pan or shallow pot. The pan should be wide enough that both pieces of fish can lie flat without overlapping.
Bring to a boil over medium-high heat. Let it boil for about 30 seconds — this cooks off the alcohol in the sake.
Step 2: Add the Fish and Initial Seasoning
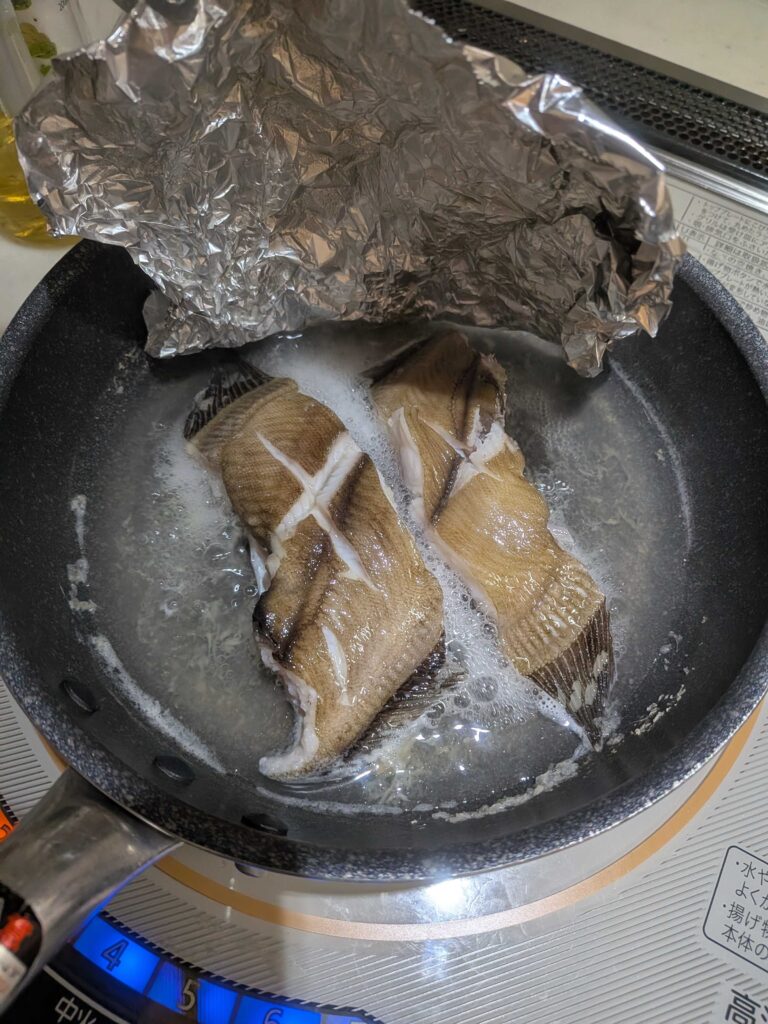
Lower the heat to medium. Place the fish pieces in the pan, skin side up. The liquid should come up about halfway up the fish — not fully submerged.
Add the mirin, sugar, and ginger slices. Don’t add the soy sauce yet.
Step 3: Cover and Simmer
Place a piece of aluminum foil directly on top of the fish, pressing it down gently onto the surface of the liquid. This is called an otoshibuta (落し蓋) or drop lid — and foil works just as well as the real thing. I always use foil at home.
The drop lid keeps the fish moist, helps the liquid circulate evenly, and prevents the fish from moving around as it cooks.
Simmer on medium-low heat for about 8–10 minutes.
Step 4: Add Soy Sauce to Taste
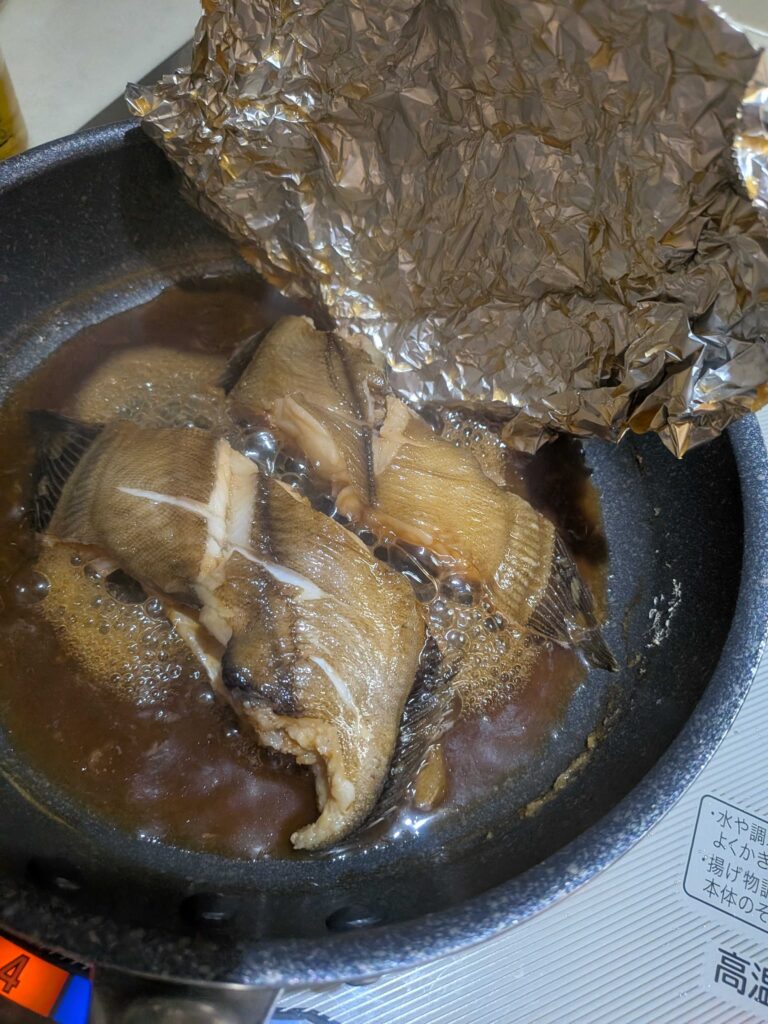
After 8–10 minutes, the fish should be mostly cooked through. Now add the soy sauce — start with 2 tablespoons, taste the broth, and add more if needed. You want a balance: savory and slightly sweet, with the soy flavor present but not overpowering.
Continue simmering uncovered for another 5 minutes, occasionally spooning the liquid over the fish. The sauce will reduce and thicken into a glaze.
Step 5: Serve
Carefully transfer the fish to a plate. Spoon the remaining sauce over the top — that glossy, concentrated liquid is the best part.
Serve immediately, alongside rice and miso soup.
Tips from My Kitchen
- Ginger is optional, but I add it. A few slices of fresh ginger go in with the mirin and sugar. It gently takes the edge off the fishiness. If you have some, throw it in.
- Don’t rush the reduction. The magic of nitsuke is the sauce concentrating around the fish. Give it time to reduce properly — you want it thick and glossy, not watery.
- Aluminum foil is all you need. I use foil as my drop lid every time — just cut a rough circle and press it onto the surface. It works exactly as well as a dedicated otoshibuta and costs nothing.
- Taste the broth before adding soy sauce. The sake and mirin bring sweetness and depth. You might need less soy than you think.
- Skin side up. Place the fish skin side up from the start — this is the presentation side. When you transfer it to the plate, the skin is already facing up and you don’t need to flip it, which means less chance of the fish breaking apart.
- Spoon the sauce as it reduces. A few passes of spooning the liquid over the top of the fish during the final simmer makes a big difference to flavor.
What to Serve with Karei no Nitsuke
In Japan, nitsuke is always eaten as part of a full meal — an okazu (おかず) alongside rice, miso soup, and one or two side dishes. Here’s what I made this day:
- Karei no nitsuke — the main dish
- Rice — always
- Miso soup — made with whatever’s in the fridge
- Hiyayakko (cold tofu) — simple, no toppings needed
- Tomato salad — with fresh seasonal tomatoes
- Edamame — quick and easy
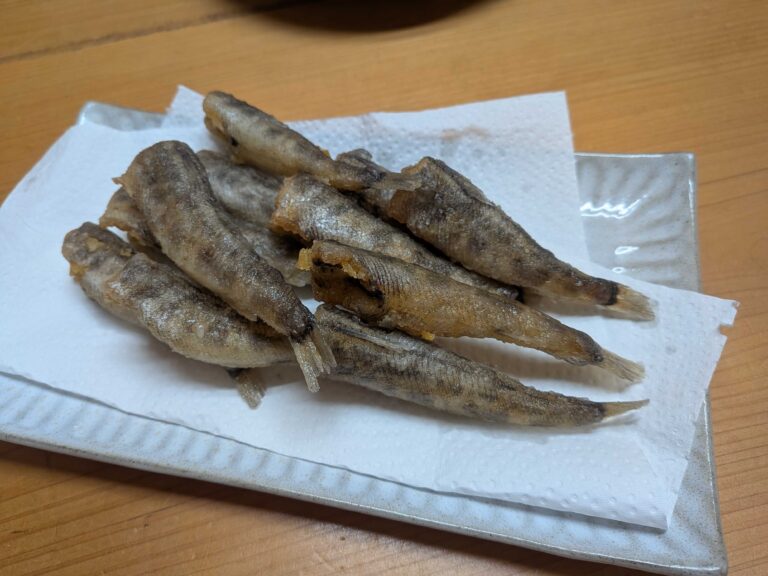
This is what a typical Japanese home dinner looks like. Each dish is simple on its own, but together they make a complete, satisfying meal. If you want another Japanese fish preparation, try my nanban zuke — fried fish marinated in a sweet-and-sour sauce with vegetables, perfect for making ahead.
Can You Use Other Fish?
Yes. The nitsuke technique works with many types of white fish:
| Fish | Japanese Name | Notes |
|---|---|---|
| Flounder / Plaice | カレイ (karei) | Classic choice, mild and delicate |
| Black rockfish | メバル (mebaru) | Rich, holds up well to braising |
| Mackerel | サバ (saba) | Stronger flavor, very common |
| Yellowtail | ブリ (buri) | Richer, fatty — excellent in winter |
| Sea bream | 鯛 (tai) | Elegant, great for special occasions |
The technique is the same for all of them. Adjust the simmering time based on the size and thickness of the fish.
Where to Find Flounder
In Japan, karei is available at most supermarkets year-round. Outside Japan, look for flounder, plaice, or sole at:
- Asian grocery stores (often in the fresh or frozen section)
- Japanese supermarkets
- Any fishmonger — ask for flatfish suitable for braising
Frozen flounder works fine for nitsuke. Just thaw it fully and pat it dry before cooking.
This post contains affiliate links. When you buy through links on this site, I may earn a small commission at no extra cost to you. I only recommend products I actually use in my own kitchen.
Karei no Nitsuke (Japanese Simmered Flounder in Sweet Soy Sauce)
Ingredients
Method
- Add water and sake to a wide frying pan or shallow pot. Bring to a boil over medium-high heat. Let it boil for 30 seconds to cook off the alcohol.
- Lower heat to medium. Place the fish in the pan, skin side up. The liquid should come halfway up the fish. Add the mirin, sugar, and ginger. Don’t add the soy sauce yet.
- Place a piece of aluminum foil directly on top of the fish as a drop lid (otoshibuta). Simmer on medium-low for 8–10 minutes.
- Add 2 tbsp soy sauce, taste, and add more if needed. Continue simmering uncovered for another 5 minutes, spooning the liquid over the fish, until the sauce reduces into a glaze.
- Carefully transfer the fish to a plate. Spoon the remaining glossy sauce over the top. Serve immediately with rice and miso soup.