Oyakodon: Japanese Chicken and Egg Rice Bowl
The Bowl That Explains Japanese Home Cooking
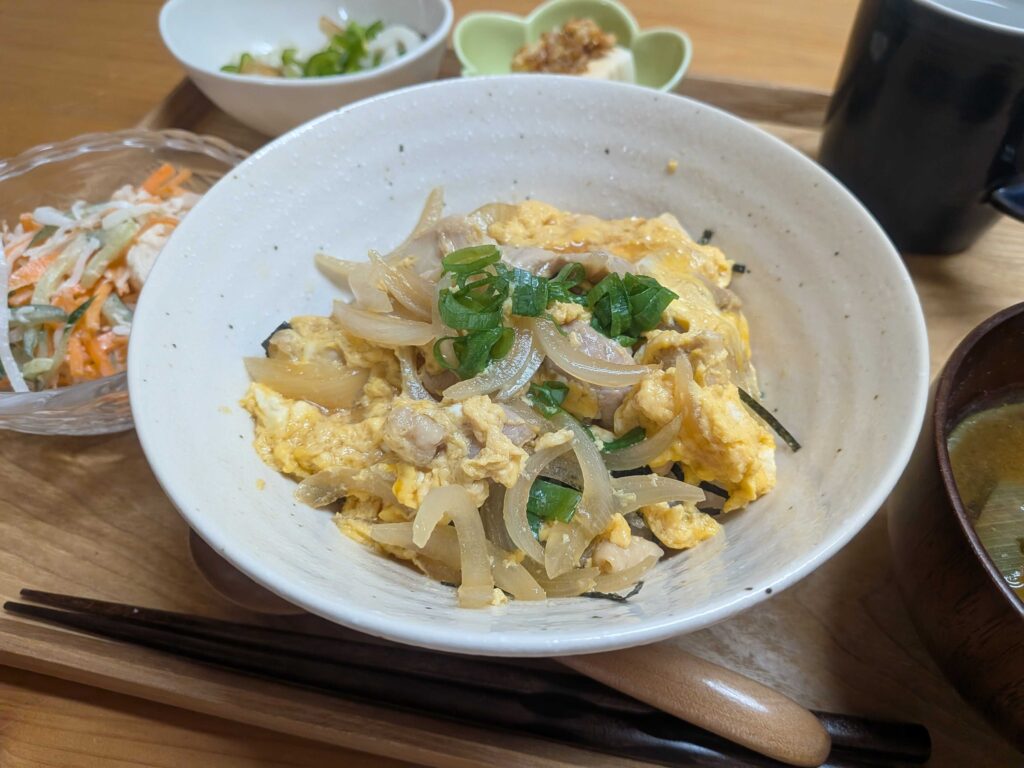
Oyakodon (親子丼) — chicken and egg simmered together in a sweet-savoury broth, served over rice — is one of the most popular donburi dishes in Japan. The name means “parent and child bowl”: chicken is the parent, egg is the child. It’s a little poetic for a weekday lunch, but that’s Japanese food culture. (For another classic donburi, see my easy gyudon recipe — Japanese beef bowl, made with thinly sliced beef and onion.)
I made this today using chicken thigh, onion, and a dashi-based broth seasoned with soy sauce and mirin. Under the egg mixture, I put a layer of shredded nori — something I always do. It adds a subtle sea flavour and a little texture that works well with the soft egg.
What is Oyakodon?
Donburi (丼) refers to a bowl of rice with a topping — gyudon uses beef, katsudon uses pork cutlet, and oyakodon uses chicken and egg. The topping is always cooked in a seasoned broth and served semi-saucy over the rice so the liquid soaks in as you eat.
Oyakodon is one of the quickest donburi to make. Once your broth is ready, the whole thing comes together in about 10 minutes. It’s a common weekday lunch in Japanese homes — fast, filling, and made from things you already have.
Ingredients (Serves 2)
- 2 servings cooked Japanese rice
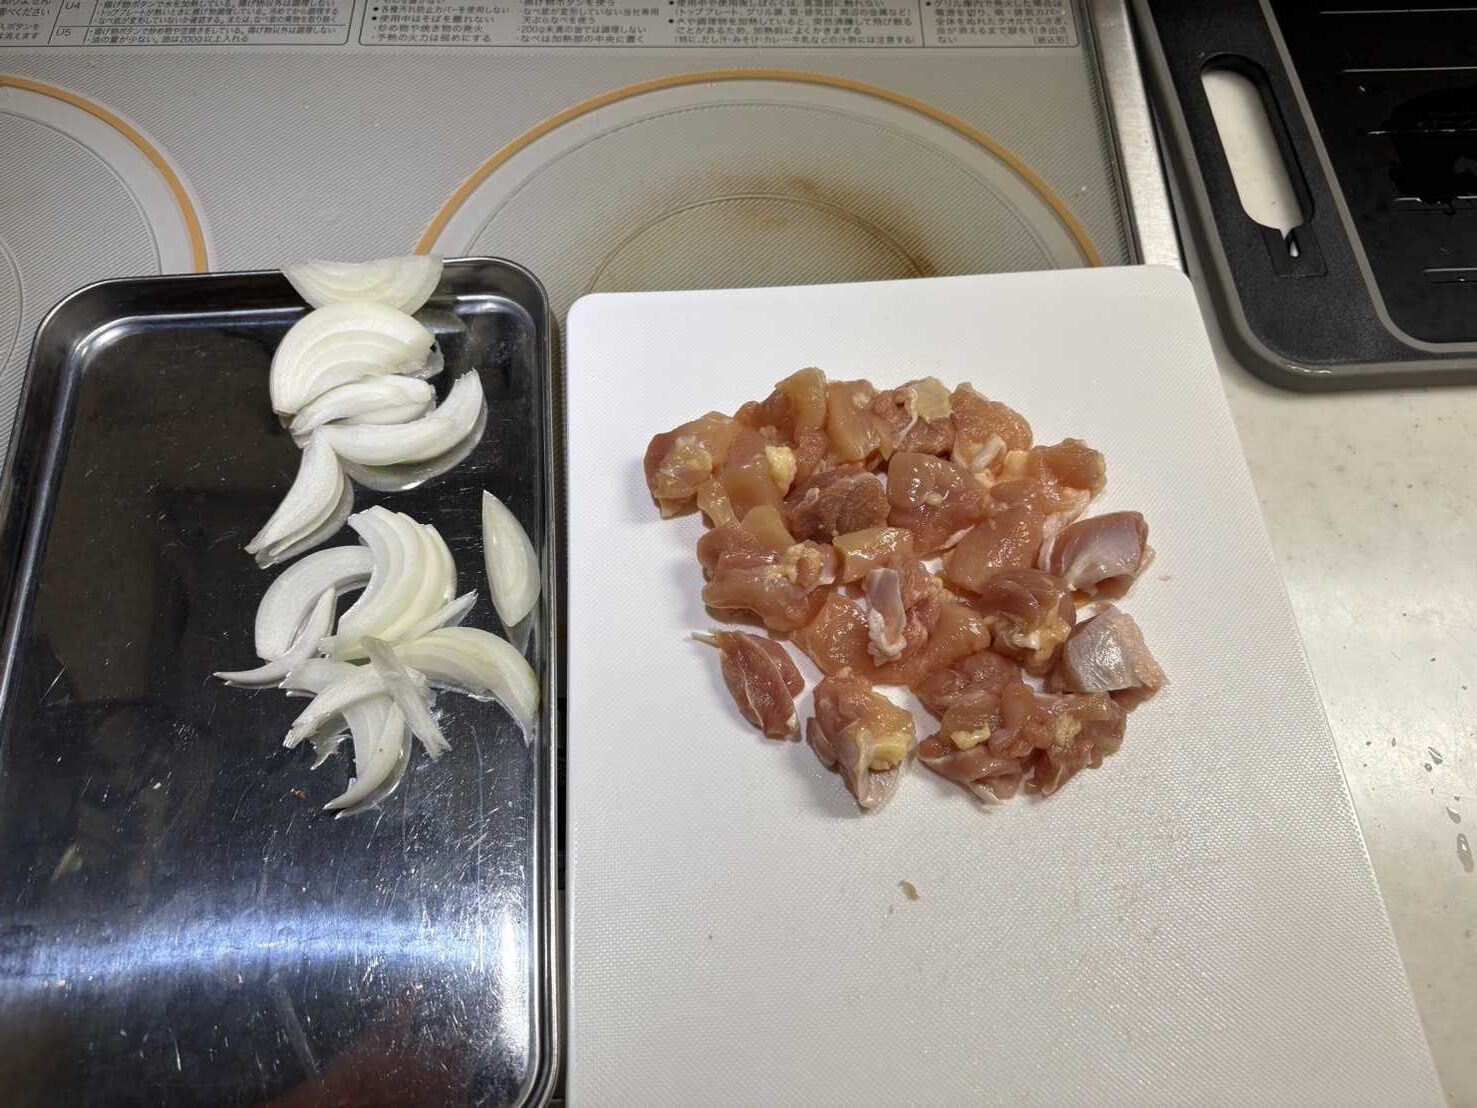
- 250–300g chicken thigh, cut into bite-sized pieces
- 1 onion, sliced
- 4 eggs
- 200ml dashi
- 2 tablespoons soy sauce
- 2 tablespoons mirin
- 1 tablespoon sugar
- Shredded nori (kizami nori), to line the bowl
- Green onion, sliced, to finish
On the Chicken
Use chicken thigh, not breast. Thigh stays juicy and tender after simmering — breast dries out. Cut it into roughly 3cm pieces, leaving the skin on or off based on your preference. I leave it off for oyakodon.
On the Egg
The eggs go in at the end and are cooked only partially — the yolk should still be soft and the white just set. This is the most important part of oyakodon. Overcooked eggs turn rubbery and the dish loses its charm. You want the egg to be barely done when you take it off the heat — it will continue cooking from residual heat on the way to the bowl.
How to Make It
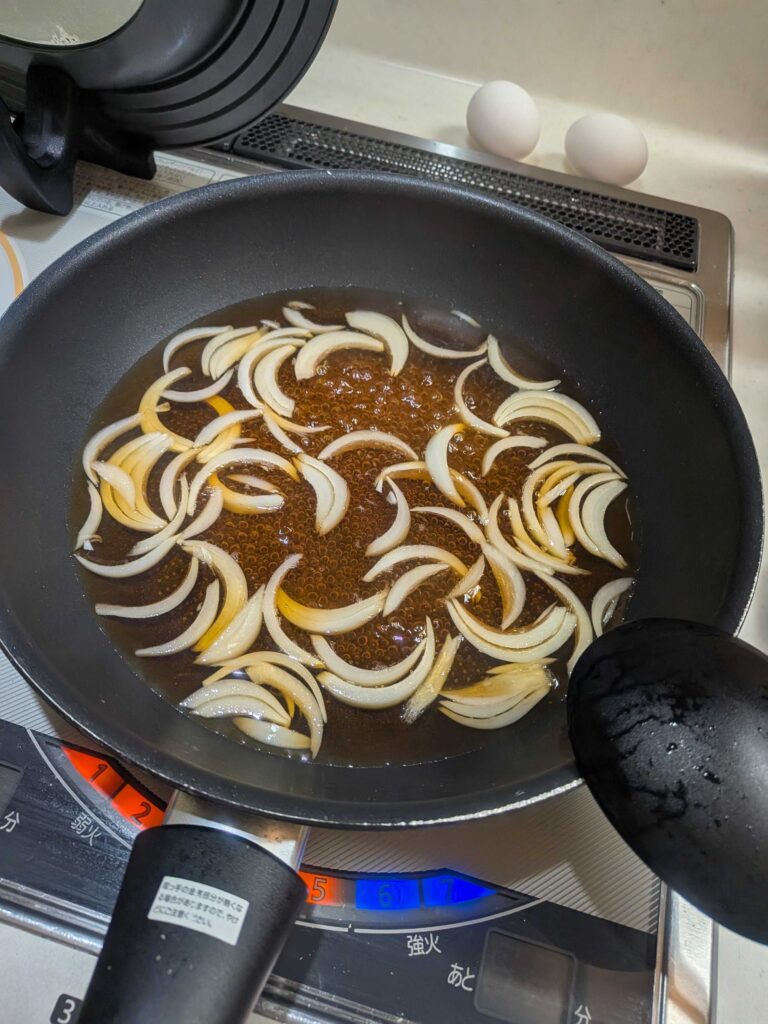
Step 1: Make the Broth
Combine the dashi, soy sauce, mirin, and sugar in a wide frying pan. Bring to a simmer over medium heat. Add the sliced onion and cook for 3–4 minutes until softened and the broth has taken on some flavour.
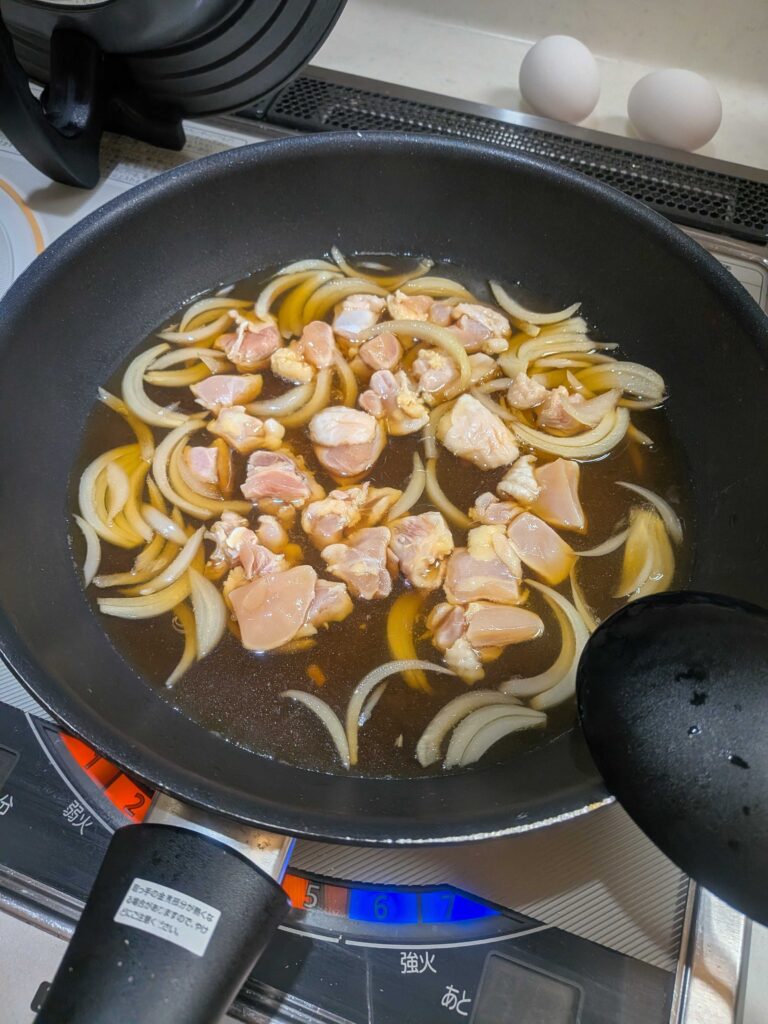
Step 2: Add the Chicken
Add the chicken pieces in a single layer. Simmer over medium heat for 5–6 minutes, turning occasionally, until the chicken is cooked through. The broth will reduce slightly and the chicken will absorb the seasoning.
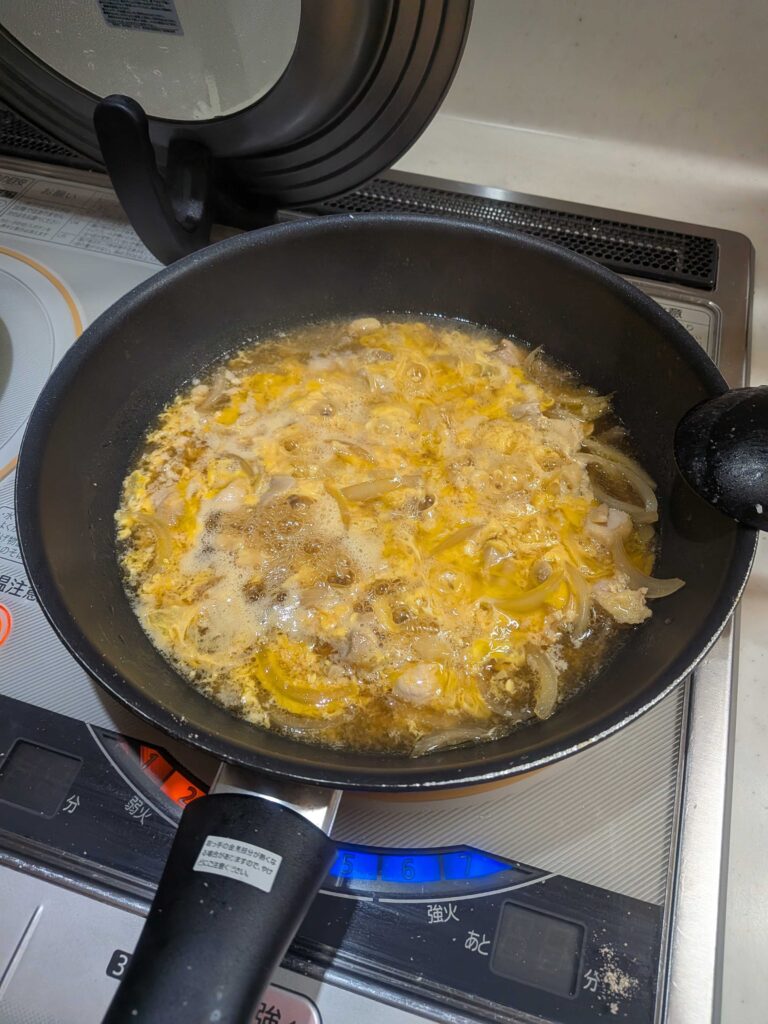
Step 3: Add the Egg
Beat the eggs lightly — not until fully combined. You want some streaks of yolk and white separate, which gives the finished dish a more interesting texture.
Pour about two-thirds of the egg evenly over the chicken and onion. Cover with a lid and cook on medium-low for about 1 minute. Then pour the remaining egg over the top, replace the lid, and cook for another 30 seconds. Turn off the heat while the egg is still slightly underdone — it will finish from the residual heat.
Step 4: Assemble the Bowl
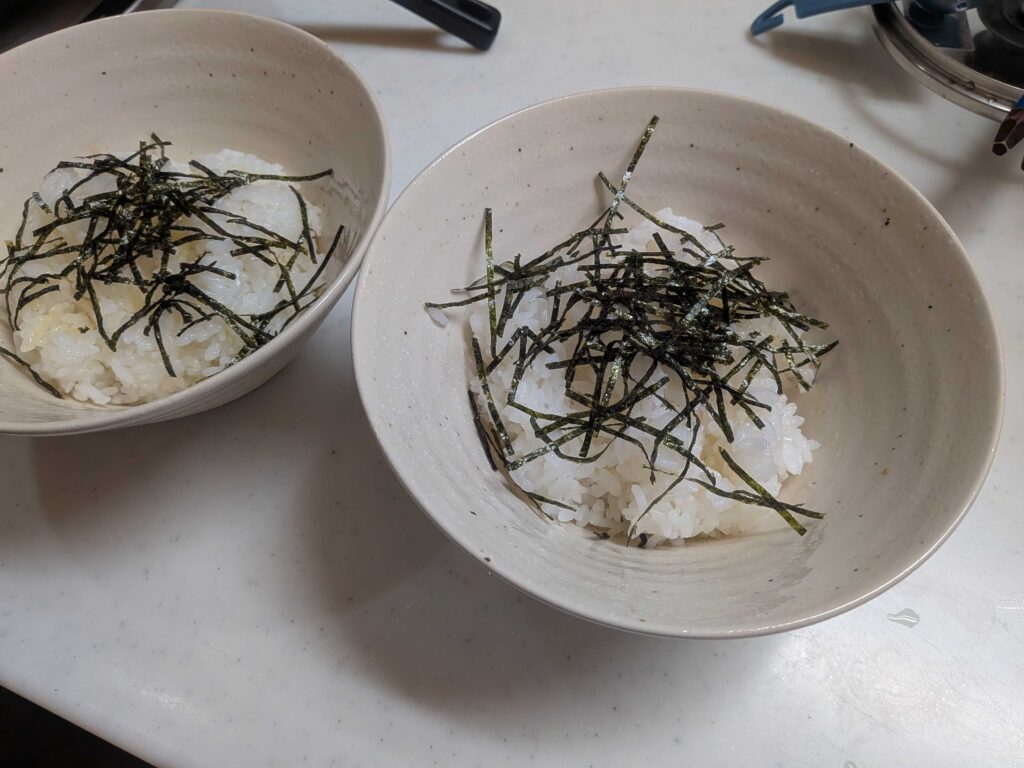
Add a serving of hot rice to each bowl. Top with a layer of shredded nori — this sits between the rice and the egg mixture and adds a quiet umami note as it softens. Then carefully slide the chicken and egg mixture over the top. Finish with sliced green onion.

Tips from My Kitchen
- Don’t fully beat the eggs. Leave some streaks of yolk and white unmixed. The result has more texture and looks better in the bowl.
- Add the egg in two pours. The first two-thirds sets the base; the last third stays softer on top. This gives you layers of texture rather than one uniform cooked egg.
- Take it off the heat early. The egg should look 80% done when you turn off the heat. By the time it reaches the bowl, it will be perfect.
- Use a wide pan. You want the chicken, onion, and egg spread out in a thin layer — not piled up. A wide pan means even cooking and an easier transfer to the bowl.
- Try shredded nori under the egg. This is something I always do. It softens under the hot egg mixture and adds a subtle sea flavour. It’s not traditional, but it works.
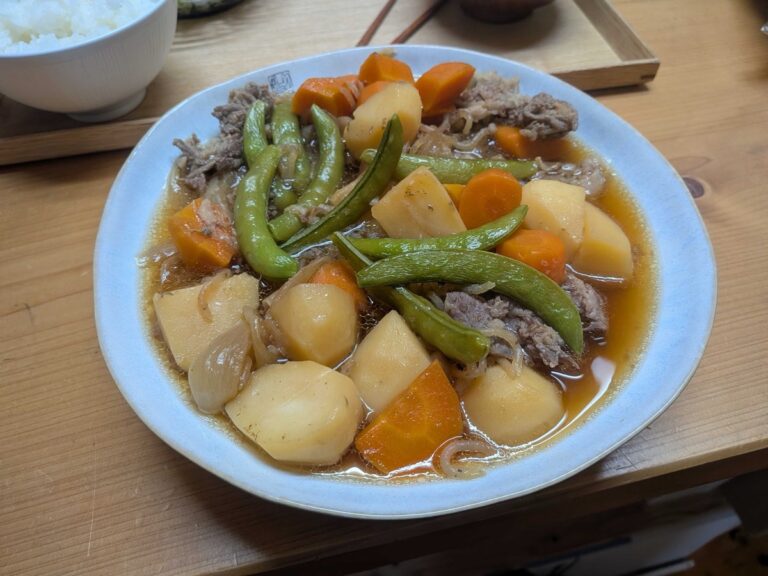
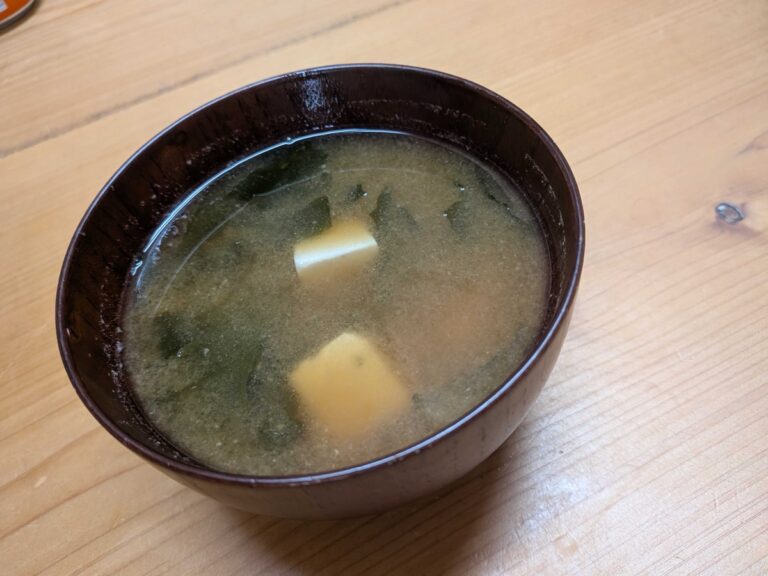
What to Serve with Oyakodon
Oyakodon is a full meal on its own, but I usually add a few small sides to make it a proper lunch spread. Today I served it with:
- Miso soup — with potato and onion
- Coleslaw — shredded cabbage and carrot with a light dressing
- Hiyayakko — cold tofu with toppings
- Green onion side dish — small and simple

This is what a Japanese home lunch looks like on a day off — more dishes than you might expect, but each one is simple and quick to put together.
Other Donburi to Try
Once you’re comfortable with oyakodon, the donburi format is easy to adapt:
| Donburi | Japanese Name | Topping |
|---|---|---|
| Oyakodon | 親子丼 | Chicken and egg |
| Gyudon | 牛丼 | Beef and onion |
| Katsudon | カツ丼 | Pork cutlet and egg |
| Tendon | 天丼 | Tempura |
| Unadon | 鰻丼 | Grilled eel |
The broth ratio is similar across most of these — dashi, soy sauce, mirin, and sugar in roughly the same proportions. Learn oyakodon and you’re most of the way to all the others.
This post contains affiliate links. When you buy through links on this site, I may earn a small commission at no extra cost to you. I only recommend products I actually use in my own kitchen.

Oyakodon (Japanese Chicken and Egg Rice Bowl)
Ingredients
Method
- Combine the dashi, soy sauce, mirin, and sugar in a wide frying pan. Bring to a simmer over medium heat. Add the sliced onion and cook for 3–4 minutes until softened.
- Add the chicken pieces in a single layer. Simmer over medium heat for 5–6 minutes, turning occasionally, until the chicken is cooked through.
- Beat the eggs lightly — leave some streaks of yolk and white. Pour about two-thirds of the egg over the chicken and onion. Cover with a lid and cook on medium-low for 1 minute. Pour the remaining egg over the top, cover, and cook for another 30 seconds. Turn off the heat while the egg is still slightly underdone.
- Add hot rice to each bowl. Top with a layer of shredded nori. Carefully slide the chicken and egg mixture over the top. Finish with sliced green onion. Serve immediately.